Flat, Bright and Honest: How to Photograph 2D Work for Gallery Open Calls
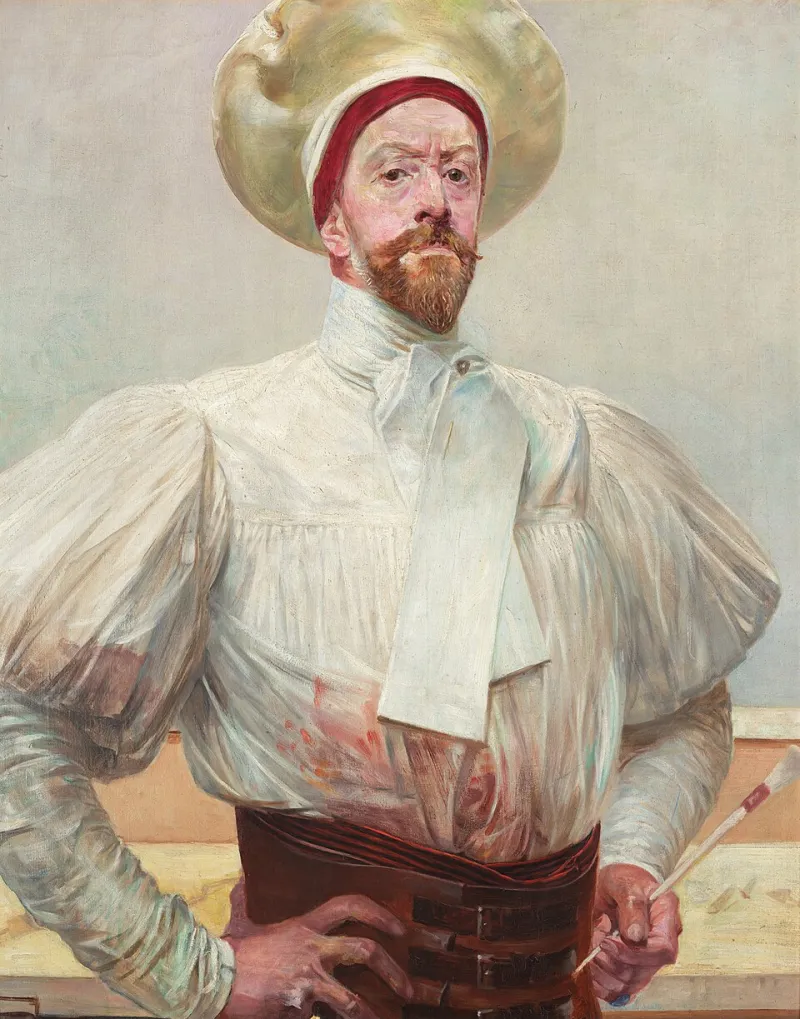
Photo: Jacek Malczewski, Public domain, via Wikimedia Commons
Open calls have a habit of closing at 5pm on a Friday, and there is nothing quite like the panic of realising the only photo of your best painting was taken at a private view, at an angle, with someone's shoulder in the corner of the frame. Selectors aren't marking your photography, but a jaundiced, glare-streaked JPEG does your work no favours.
The good news is that you don't need a studio. You need a wall, a window, something to hold the camera still and about forty minutes of patience. Here's the process I'd use for a painting, a linocut or a giclée print — on a phone or a borrowed mirrorless body.
Start with the wall, not the camera
Find the flattest, most evenly painted wall in your house or studio. Matt emulsion is your friend; gloss paint, exposed brick and anything with a texture will bounce light back in unpredictable ways. Clear a space about two metres wide so you can step back without tripping over a drying rack.
Hang the work so its centre sits at roughly the height of your lens when the tripod is extended — usually around chest or shoulder height. Blue Tack will hold a small print, but a stretched canvas needs two panel pins or a proper hook. If the piece is warped, a strip of low-tack tape at the edges can pull it flat without marking the surface, provided you test it on the back first.
Working with British weather and small rooms
A north-facing window is the classic choice because it gives you soft, directionless light all day. But honestly, a flat grey November sky is effectively a free softbox, so dull weather is an advantage here. What you want to avoid is direct sun, which creates hard shadows and hot spots on varnished surfaces.
If the only window faces south, hang a white sheet or a sheet of diffusion material across it. If daylight is too weak for a sensible handheld exposure, don't reach for the torch on your phone — put the camera on a tripod and use a longer shutter speed instead. Two seconds at a low ISO will look far better than a bright, noisy snap.
Switch off the room lights. Mixing tungsten bulbs with daylight is the fastest way to end up with a picture that is orange on one side and blue on the other, and no amount of slider-pushing in Lightroom will fully fix it.
Getting square-on
Perspective is where most submissions fall down. If the camera is higher than the middle of the artwork, the top edge narrows and the piece looks like it's leaning backwards. Fix the tripod so the lens is exactly level with the centre of the work, then step back far enough that you can fill the frame with a small margin around the edges.
Use the grid overlay in your camera app or viewfinder to line up the edges of the piece with the frame. Take one shot, zoom in, and check all four corners. On a phone, tap and hold to lock focus and exposure so the camera doesn't hunt between frames.
Taming reflections
Glare is simply a reflection of a light source, and the rule that governs it is simple: the angle it hits at is the angle it bounces off at. That means you can usually kill it by moving either the camera or the light rather than fighting it with editing.
For work under glass, a circular polarising filter is worth its weight in gold. Rotate it slowly while watching the screen until the reflection fades. Phone users can buy clip-on polarisers for a tenner, and they genuinely work. For varnished oils or glossy photographic prints, the pro trick is cross-polarisation: a polarising sheet over the light source, plus a polariser on the lens, set at 90 degrees to each other. It's fiddly, but it removes almost all surface sheen.
A black card or a dark cloth held just behind the camera also stops you photographing your own reflection in framed glass.
Colour that matches what you made
Put a grey card in the frame for the first shot and use it to set white balance, then crop it out of the final image. A cheap colour checker chart does the same job and gives you a reference for later. On a phone, turn off any 'vivid' or 'auto-enhance' modes, and if your camera shoots raw, use it — the extra headroom is invaluable when you're correcting a slight colour cast.
Once you have a calibrated file, resist the urge to crank the contrast. Galleries want an honest record, not a version of the piece that looks better than the real thing.
Files that selectors can actually open
Read the submission guidelines properly — every open call is different, and the ones that ask for 300dpi TIFFs are not joking. The common request is a JPEG in sRGB, around 2000 pixels on the long edge, under 5MB. Name files exactly as instructed, usually Surname_Title_Year.jpg, and don't add extra spaces or ampersands.
Keep a high-resolution master — ideally a 16-bit TIFF or a raw file — and export a copy for submission. Never upscale a small image to hit a pixel count; reshoot instead.
The pre-submission checklist
- All four corners visible and square, with a small even margin
- No glare, no reflection of you or the room
- Grey card used for white balance
- Colour checked against the physical piece in daylight
- File format, size and naming exactly as specified
- Backup saved somewhere other than your desktop
It sounds like a lot, but once you've done it twice it becomes a twenty-minute routine — and it's a far more pleasant way to spend a Thursday evening than reshooting everything the night before a deadline.