The Window-Seat Menu Shoot: Honest Pub Plates Through a British Winter
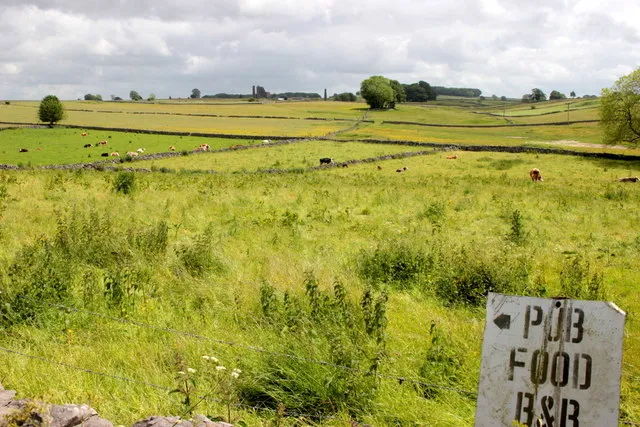
Photo: Nigel Mykura , CC BY-SA 2.0, via Wikimedia Commons
Pub food has a hard job in winter. It arrives at the table when the light has already given up, under a bulb that makes gravy look like treacle and chips look like they were fried in a previous decade. The temptation is to reach for flash. Please don’t. The aim of a menu or social photo is not a masterpiece. It is a clear, appetising, accurate plate that someone can recognise and order from. That is a much easier brief, and it works beautifully in a window seat between now and February.
Start with the table, not the camera
A pub table is a working surface, not a set. Clear the condiments, the cutlery bundle, the abandoned quiz sheet and the sticky menu stand. Wipe the table properly. If the surface is dark and scratched, a plain napkin or a sheet of white A4 under the plate can lift it without pretending the pub is a hotel restaurant. If the table is pale and shiny, angle the plate so the window light skims across the food rather than bouncing straight back into the lens.
Pick a window seat, but avoid a patch of direct sun. A grey, overcast lunchtime is your friend here. Side light is usually kinder than light from behind, because it gives texture to pastry, gravy and the edge of a pie. Put the plate near the window edge of the table, not in the middle, and sit so your shadow falls away from the food. One prop is enough: a pint, a small jug of gravy, a folded napkin. More than that and the photo starts to look like a car boot sale.
Why flash ruins pub food
Direct flash is the enemy of an honest plate. It flattens texture, puts a hard highlight on gravy, turns a glass of bitter into a mirror and makes custard look radioactive. It also cools the colour of the room, so the warm browns of a Sunday roast can come out grey and the greens can go a strange, minty shade. On a phone, the little built-in flash is rarely strong enough to light the whole table evenly, so you get a bright chip and a dark pie.
If the corner is genuinely too dark, move the plate closer to the window rather than adding flash. Use a white menu card or a clean napkin as a simple bounce card on the shadow side. Hold it just outside the frame, angled back towards the food. You are not trying to create a studio glow; you are just lifting the darkest side enough that the plate reads properly. If the pub has a low ceiling and dark walls, accept that some shadows will remain. Shadows are not the problem. Blocks of black are.
Phone settings for low light
Use the main camera lens, not the ultra-wide. Ultra-wide is handy for a whole table, but it bends the plate and makes chips look oddly long. Step back and use the standard lens instead. Tap to focus on the food nearest the camera, then drag the exposure down slightly if the white plate is clipping. A little underexposure is easier to fix than a blown-out highlight on a pie crust.
Turn the flash off. Leave HDR on if your phone handles it well, but check the result rather than trusting it blindly. Avoid portrait mode for food; the fake background blur can eat the edge of a plate or make a pint look like it is melting into the table. Hold the phone with both hands, brace your elbows on the table edge and take a few frames. For steam, shoot immediately when the plate lands. For a pint, wait a few seconds for the foam to settle, then shoot from slightly above so you get the top of the glass and the side of the liquid.
If you are using a camera, keep it simple. A standard lens or a short zoom is fine. Use an aperture around f/4 if there is enough light, and raise the ISO rather than letting the shutter speed drop too low. A shutter speed of around 1/60sec is a sensible floor for hand-held food shots, and faster is better if people are moving plates around. Clean the lens. It sounds obvious, but a smeary phone lens is the most common reason for soft menu photos.
White balance and colour checks
Pub light is a mix of warm bulbs, cool window light and whatever is reflecting off the walls. That mixture is why gravy can look purple, peas can look neon and a white plate can look peach. Before you shoot a batch, put something neutral in the frame: a white napkin, a sheet of white paper or the back of a menu. Take one frame with it, then remove it. If your phone or camera lets you set a custom white balance, use that frame. If not, use auto white balance and correct afterwards.
Aim for accurate, not cold. The food should look like it did at the table, not like it has been sanitised for a catalogue. Brown gravy should stay brown, not grey. Chips should be golden, not orange. Greens should be green, not fluorescent. If the white plate looks blue, warm the image slightly. If the plate looks yellow, cool it slightly. Keep an eye on the pint, too: beer can look dull or greenish under mixed light, and a quick white balance nudge usually sorts it out.
The ten-minute tabletop checklist
- Choose a window seat with soft, side light and no direct sun on the plate.
- Clear the table and wipe it down. Remove menus, condiments and clutter.
- Put the plate near the window edge of the table, not in the middle.
- Use one prop at most: a pint, a gravy jug or a folded napkin.
- Turn off flash. Use the main lens and tap to focus on the food.
- Brace your elbows, take a wide shot, a close shot and one detail shot.
- Include a white napkin or menu card in one frame for a colour check.
- Shoot the dish while it is hot. Do not wait for the whole table to arrive.
- Note the dish name and price as you go. Future you will forget.
- Check the images on a decent screen before you leave the pub.
Quick edits that keep it honest
Straighten and crop first. A menu photo does not need a dramatic angle; a clean, level plate is more useful. Lift the shadows a little, but do not chase detail that is not there. Add a small amount of contrast and warmth if the image looks flat, then stop. Heavy clarity or texture sliders make gravy look gritty and pastry look like sandpaper. Sharpen after resizing, not before, and export in sRGB at a sensible size for the menu or social post.
If you are editing a batch, keep the crop shape and colour temperature consistent across dishes. A menu where one pie is warm and one pie is blue looks careless, even if both were shot in the same room. Make a simple preset if it helps, but check each image by eye. Mixed light changes from table to table, and a preset cannot know that the window went cloudy halfway through service.
Pints, puddings and the honesty test
Pints are tricky because glass and liquid both catch the light. Angle the glass so the window light runs down one side rather than straight through the middle. Avoid shooting into the window, which turns the beer into a silhouette. For puddings, watch the cream and custard for blown highlights. A darker background, such as a wooden table or a dark napkin, can make a sticky toffee pudding look richer without changing the food itself. Do not add fake steam, fake garnish or extra chips. The menu photo has one job: make someone order without feeling tricked when the plate arrives.
A winter shooting routine
The best window in a pub is usually at its best between late morning and early afternoon, even in December. If you can, shoot before service rather than during it. Ask the kitchen for a normal portion of the dish, not a special hero plate, so the photo matches what customers actually get. Keep the shoot short. Food dies quickly under lights, and a plate that looked generous five minutes ago can look tired by the time you have taken twenty frames.
When the light is truly miserable, do not force it. A clear, slightly moody photo of a pie and a pint by a rainy window is more honest than a flash-lit plate that looks like it came from a completely different pub. The dark months are not the enemy of good menu photography. They just ask you to work with the window you have, keep the table simple and check the colour before you post.