Texture First: A Low-Light Plan for Dark Winter Coats
Dark coats are not really a colour problem. They are a separation problem. A charcoal wool overcoat, a navy waterproof shell and a well-worn waxed jacket all contain plenty of detail, but in flat November light they can merge into one soft, featureless shape. The temptation is to drag the shadows slider upwards until something appears. That usually gives you a grey coat, crunchy wool and a portrait that looks like it was rescued rather than photographed.
The better approach is quieter: decide what the coat needs to communicate, expose for the fabric at capture, then edit with a firm hand on the black point. This is the workflow I would use for a small UK brand shooting a winter lookbook in a village hall, a portrait session by a big window, or a maker photographing one sample coat on a rail before sending it back to the supplier.
Decide what the coat is for
A lookbook image needs to show cut, drape and surface. A portrait needs the coat to support the face, not compete with it. Those are different jobs. If the coat is the product, you can afford more visible texture and a slightly brighter shadow area. If the coat is part of a portrait, protect the face first and let the darkest folds stay dark.
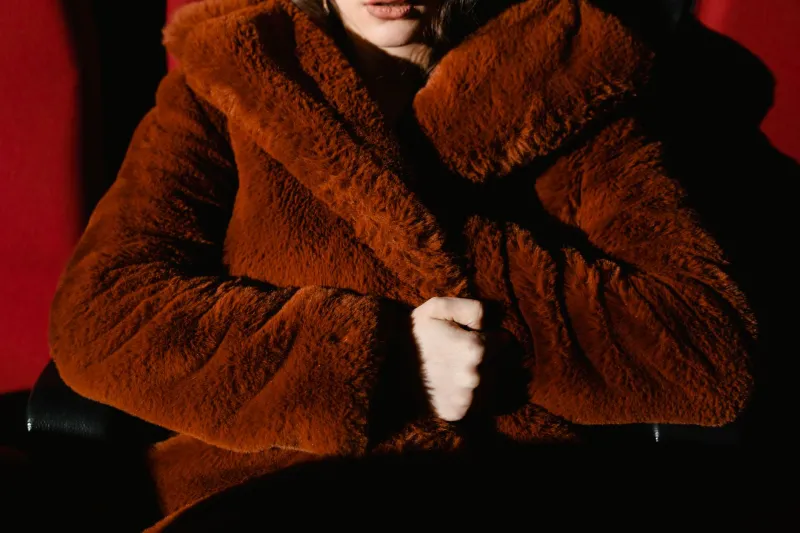
Either way, aim for texture, not total detail. Wool should look fibrous, waxed cotton should show its slight sheen and creases, and a waterproof shell should keep its smooth, practical surface. You do not need to see every weave in the deepest fold. You need enough tonal variation that the eye reads fabric rather than a black cut-out.
Meter for the fabric, not the face
At capture, the coat is the thing that usually gets underexposed. Phone cameras and automatic metering see a dark mass and either brighten the whole scene or protect the highlights, depending on the model. Tap or spot-meter on the coat itself, then check the face. If the face becomes too bright, move the subject or add fill rather than crushing the coat back down.
With a phone, lock exposure on the darkest part of the coat that still has visible texture, then lift exposure slightly until the fabric sits just below the point where highlights start clipping. On a camera, use the histogram and expose so the coat is not bunched against the left edge. If you are unsure, bracket a few frames. It costs nothing and gives you options later.
Shoot raw if you can. A phone JPEG can be edited, but raw or a good HEIC file gives you more room to lift shadow detail without the fabric turning into noise. For small brands, a simple test frame on the rail or in the doorway is often enough to confirm the exposure before the model steps in.
Bounce, don’t blast
Dark fabric responds well to soft, directional light. A white wall, a foam board, a reflector or even a pale pavement can bounce enough light into the coat to reveal texture. You do not need a studio flash. In fact, hard flash is often the fastest route to a shiny waxed jacket, a sweaty-looking waterproof shell and a face that looks pasted onto the scene.
For wool, side light is your friend. It picks up the nap and gives the surface some shape. For waxed cotton, watch the specular highlights: a little sheen is good, a blown white streak is not. For waterproof shells, keep the light broad and soft so the fabric reads as smooth rather than plasticky.
If you are working in a British front room or a borrowed hall, turn the subject slightly away from the window and bring a white card in on the shadow side. That gives you a gentle fill without flattening the coat. If the room is very dark, lift the ambient light by opening a door or moving closer to the window. Do not immediately reach for a flash gun.
Protect the black point in the edit
The core editing rule is simple: lift the shadows, not the blacks. A dark coat should still contain a real black somewhere. If every shadow becomes mid-grey, the coat loses its weight and the image starts to look washed out.
Start with exposure and white balance. Get the overall scene to a sensible place before you touch the shadow sliders. Then use a tone curve rather than a heavy global shadow lift. Add a gentle point in the lower midtones and leave the black point anchored. That brings up the weave and the folds while keeping the coat’s deep values intact.
Use texture or clarity locally, not as a global punch-up. A small amount of texture on the coat can make wool look like wool. Too much clarity makes the fabric look gritty and over-sharpened, especially on phone files. If your app has a selective tool, mask the coat and apply the texture there. Keep the face separate and softer.
Be careful with dehaze. It can rescue a flat, misty frame, but on a dark coat it often darkens the fabric and creates a hard, unnatural edge. If you use it, use it lightly and check the coat at 50% rather than 100%. The same goes for HDR-style presets. They tend to create pale halos around shoulders and sleeves, which is exactly the sort of fake detail that makes a lookbook look amateur.
A restrained sequence for phone and desktop
On a phone, open the image in Snapseed, Lightroom mobile or your usual editor and work in this order: crop and straighten, correct white balance, set exposure, lift the lower midtones with a curve, add a little texture to the coat, then mask the face and keep it natural. On desktop, the same sequence works in Lightroom, Capture One or Affinity Photo. The tools have different names, but the logic is identical.
Check the coat against a neutral background and on a second screen if you have one. Dark fabrics can look fine on a bright phone and muddy on a laptop. If the coat starts to look grey, pull the shadow lift back. If it looks like a black hole, add a touch more lower-mid tone rather than raising the blacks.
Common traps to avoid
- Lifting shadows until the coat looks dusty or grey.
- Using global clarity to force texture into wool.
- Over-denoising, which smears the weave and makes waxed cotton look plastic.
- Applying HDR presets that leave halos around the shoulders.
- Editing the coat and face with the same settings.
The dark-coat edit is not about making black look bright. It is about giving the eye enough information to understand the fabric while keeping the weight and mood of a British winter. Expose for the surface, bounce a little light where you can, and edit with restraint. The coat should still look dark. It should just look like a coat.